
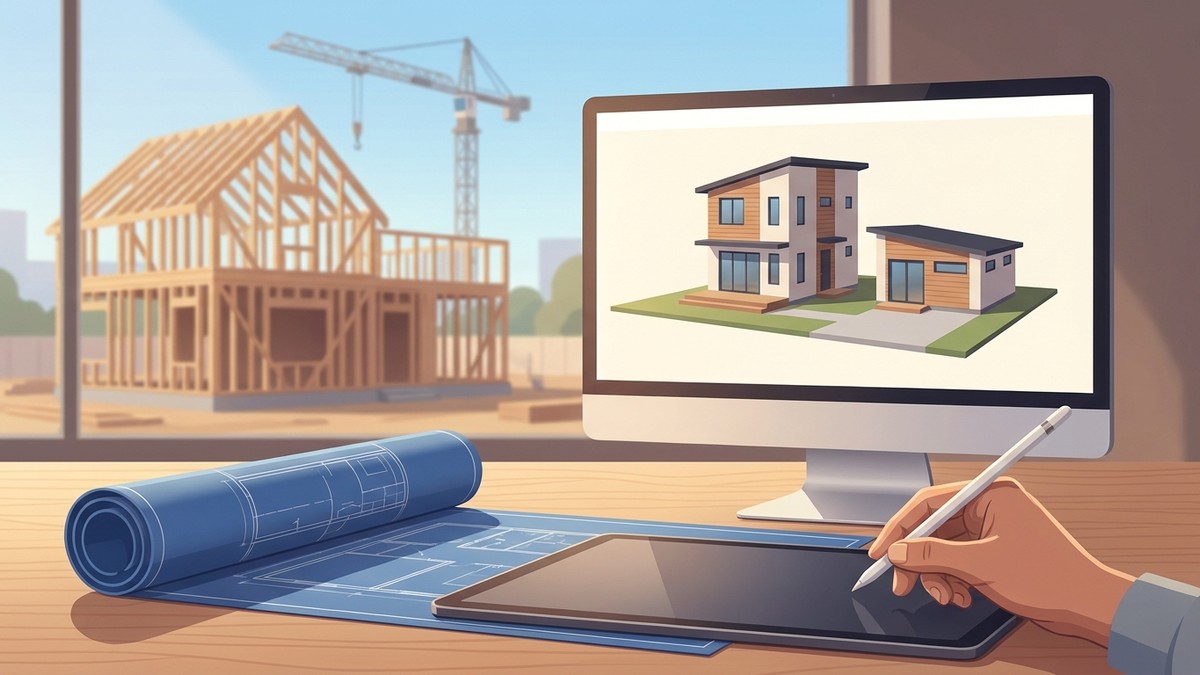
To build your custom home online, you use web-based layout software and 3D modeling platforms to establish your floor plan concept, room flow, and visual preferences before hiring a general contractor. While these digital programs help you clarify spatial requirements and compile finish ideas, software alone cannot generate the structural engineering, geotechnical calculations, or stamped architectural schematics required for municipal permitting. Turning a virtual model into a physical residence requires translating your online concept into stamped working drawings that comply with local building codes, structural load paths, and site topography.

What Does It Actually Mean to Build Your Custom Home Online?
Homeowners looking to build your custom home online typically interact with browser-based drafting tools, parametric 3D configurators, or digital plan libraries. These platforms allow you to drag and drop interior partition walls, test window placements, adjust ceiling heights, and configure room adjacencies. You can evaluate how an open-concept living area connects to an outdoor patio or how a split-bedroom layout isolates the primary suite from guest rooms.
Digital configurators operate in a simplified virtual environment where soil bearing capacity is uniform, plumbing stacks do not require vertical chases, and roof structures carry theoretical loads without dedicated bearing points. Because of these simplifications, an online model functions primarily as a visual brief rather than a buildable blueprint.
Web-based design platforms excel at three primary functions:
- Spatial visualization: Walking through a 3D model helps you evaluate interior sightlines, traffic flow, and room proportions before committing to construction drawings.
- Option testing: Comparing single-story footprints against two-story layouts with detached garages or covered porches allows you to weigh different spatial configurations.
- Specification gathering: Storing your visual preferences for siding materials, roof profiles, cabinetry styles, and trim details creates an organized reference document for your design team.
Exporting your digital layout provides the aesthetic and functional baseline for your project. The physical construction process begins when structural engineers, civil designers, and licensed trade contractors adapt that concept to fit municipal building regulations and physical site conditions.
Conceptual floor plans versus structural working drawings
A conceptual floor plan shows room labels, approximate interior dimensions, door swings, and window locations. It illustrates where you intend to place specific living activities within the home.
Structural working drawings—often referred to as construction blueprints—provide trade contractors, structural engineers, and building inspectors with the technical specifications required to assemble the building safely. For an in-depth breakdown of these technical drawing packages, review our house blueprints builder guide.
| Feature | Conceptual Online Floor Plan | Structural Working Drawing Set |
|---|---|---|
| Primary Purpose | Visualizing spatial relationships and interior layout ideas | Directing trade execution, structural engineering, and municipal permitting |
| Dimensional Detail | Approximate room sizes that often omit finished wall thicknesses | Exact framing dimensions accounting for studs, exterior sheathing, and drywall |
| Foundation Detail | None (assumes a completely flat, uniform lot) | Engineered foundation layout based on site-specific soil testing |
| Structural Engineering | No calculation of load paths, header sizes, or shear walls | Stamped point loads, truss designs, shear walls, and hold-down brackets |
| Mechanical Systems | Generic fixture placements without piping pathways | Dedicated routing paths for ductwork, plumbing stacks, and electrical panels |
| Permit Usability | Cannot be submitted to city plan reviewers for permits | Fully compliant with local residential building codes and ready for submission |
Key Steps to Plan and Design Your Home Using Digital Tools
Using digital layout software before consulting a builder helps organize your ideas, establish spatial priorities, and speed up initial project consultations. Structuring your digital design process systematically prevents common layout mistakes and produces clearer documentation for your design-build team.
1. Outlining functional spaces and lifestyle requirements
Begin by defining how each room will support your daily routines rather than focusing immediately on exterior styling. Group your requirements into distinct functional zones:
- Private living zones: Primary suites, guest rooms, and multi-generational living quarters. Consider whether secondary bedrooms need acoustic buffering from common areas like media rooms or great rooms.
- Work and utility zones: Dedicated home offices, walk-in pantries, laundry facilities, and mudrooms. Placing high-traffic utility spaces directly adjacent to garage entries keeps daily clutter isolated from main living areas.
- Social zones: Great rooms, kitchens, and formal dining areas. Determine whether you prefer continuous open living spaces or semi-defined rooms with framed archways.
- Accessory structures: If your lot dimensions permit, consider how the primary residence connects to outdoor living zones, guest suites, or detached structures. PRO Construction provides Accessory Dwelling Units (ADU), Garage Conversions, Garage Builds for Homeowners in Keller, TX and surrounding communities seeking additional living space, rental income, or guest accommodations..
2. Testing spatial flow and furniture scale digitally
Scale distortion is a frequent challenge when working in consumer-grade drafting software. Virtual rooms often appear spacious on a computer screen until real-world furniture dimensions and clear walkway zones are introduced.
Apply these dimensional standards when refining your digital layout:
- Set main hallway widths to at least 36 inches, though 42 to 48 inches provides significantly better mobility and furniture movement.
- Maintain at least 36 inches of clearance between kitchen island countertops and perimeter cabinetry so appliance doors, pull-out trash bins, and drawers open without obstruction.
- Insert accurate furniture blocks for king beds, dining tables with pulled-out chairs, and sectional sofas to confirm you retain at least 30 inches of walkable perimeter space.
- Position window openings to maximize natural daylighting while avoiding direct sightlines into private areas from neighboring homes or street traffic.
3. Compiling specifications and material preferences
Use your software’s documentation tools to compile material and architectural selections once the basic layout functions smoothly. Note desired ceiling plate heights, exterior cladding materials, roofing materials, and window styles.
Generate dimensioned two-dimensional floor plans alongside your three-dimensional perspective renderings when exporting your digital files. For additional insight on organizing practical room adjacencies, our guide on how to choose and design functional floor plans outlines room connectivity principles in detail.
Where Online House Planning Software Hits a Wall
Virtual drafting platforms model building sites as clean, level planes with stable ground conditions. Physical residential construction, however, is governed by geotechnical conditions, municipal zoning constraints, and structural mechanics.
North Texas expansive clay soils
Expansive clay soils contain minerals that swell substantially when absorbing moisture and shrink during hot, dry periods. Web-based software does not account for the structural movement caused by fluctuating soil conditions. Building safely on expansive soil requires geotechnical soil core testing followed by a custom-engineered foundation—typically an engineered post-tension slab with deepened perimeter beams or drilled concrete piers anchored into stable strata.
Lot orientation and municipal setbacks
Digital tools do not automatically enforce property lines, utility easements, or municipal drainage corridors. Local building departments establish front, rear, and side setback requirements that define the buildable envelope of your lot. If your online design produces a footprint wider than the allowed building envelope between side setbacks, the entire floor plan requires dimensional revision.
Local civil drainage regulations also restrict the total percentage of impervious surface cover permitted on a residential parcel. Exceeding impervious surface caps through combined roof area, concrete driveways, and hardscaped patios leads to permit rejections until drainage mitigation plans are approved.
Mechanical, structural, and framing pathways
Many web applications allow users to place upper-level bathrooms directly above wide, clear-span living rooms without identifying where vertical plumbing drain stacks and venting pipes will drop. On the job site, a vertical drain pipe cannot pass through a solid engineered structural beam without compromising load capacity.
High-efficiency heating and cooling equipment also requires dedicated vertical duct chases between levels. When you build from an unverified digital sketch rather than a coordinated structural plan, mechanical trades are forced to build drop-down soffits and chase walls on site, altering your intended ceiling heights and clean architectural lines.
How to Bridge the Gap Between Virtual Plans and Job Site Reality
Translating an online concept into a physical structure requires a structured pre-construction workflow that validates your design against real-world engineering standards.
1. Site feasibility and zoning analysis
Your builder performs a comprehensive feasibility assessment on your specific lot before proceeding to structural engineering. This initial review evaluates:
- Boundary and topographic land surveys
- Local zoning district rules and maximum height limits
- Flood plain designations and natural surface water drainage paths
- Municipal tree preservation and canopy protection ordinances
2. Professional engineering translation
Your conceptual export moves to a structural designer and licensed engineer to generate constructible drawings. Engineering coordination includes:
- Calculating vertical and lateral load distributions from the roof down through the wall framing to the foundation
- Sizing engineered wood or steel headers across wide window openings and multi-panel patio doors
- Designing coordinated Mechanical, Electrical, and Plumbing (MEP) layouts that conceal utility runs within wall cavities and designated attic spaces
Review our detailed custom home building workflow to see how design-build teams coordinate engineering documentation directly with municipal code authorities.
3. Financial predictability through clear contracting
Converting digital plans into physical structures requires balancing your aesthetic vision with material and labor requirements. Establishing a clear construction agreement, such as a fixed-price contract or a Guaranteed Maximum Price agreement, ensures that all structural components, energy code compliance details, and material selections are specified before site excavation starts. If you plan to finance your build, exploring your financing options early in the design stage helps define an accurate overall investment range.
4. Dedicated on-site construction management
A project manager provides continuous oversight throughout the physical build, translating engineering documents into daily trade execution. Site managers verify framing tolerances, moisture barrier installations, subcontractor sequencing, and municipal inspection milestones across each phase of construction.
Five Critical Mistakes to Avoid When Planning a Custom Home Online
Digital planning tools give you tremendous creative freedom, but failing to anticipate real-world construction constraints can lead to costly revisions and permitting delays.
1. Designing without boundary surveys or topography data
Sketching a floor plan without boundary and topographic survey data frequently leads to unbuildable designs. A parcel that appears level can easily feature a grade elevation change of several feet across the proposed building footprint. Sloped sites require stepped foundations, dropped grade beams, or retaining walls that directly impact exterior door thresholds, driveway slopes, and garage slab elevations.
2. Overlooking utility infrastructure and drainage pathways
Standard design software does not show the physical locations of municipal water meters, sewer taps, electrical transformers, or private septic drain fields. Placing high-demand plumbing zones on the side of the home furthest from the utility tie-in increases trenching labor and installation costs.
3. Buying generic stock blueprints without local code adjustments
Stock floor plan downloads purchased online often create issues during municipal plan review. Generic blueprints designed for broad national use rarely account for:
- Regional wind-speed and lateral wind-load bracing criteria
- Local energy code compliance standards
- Regional foundation engineering tailored to specific soil classes
Our technical overview of house construction design explains how regional building codes dictate structural framing and envelope assemblies.
4. Prioritizing cosmetic finishes over building envelope performance
Focusing heavily on virtual tile patterns, cabinet colors, and plumbing fixtures often leads homeowners to overlook exterior envelope details. Wall framing thickness, continuous exterior insulation, high-performance window assemblies, and thorough air sealing details determine your home’s long-term energy consumption and indoor comfort far more than decorative finishes.
5. Relying on automated cost calculators
Third-party online cost calculators rely on broad regional averages that fail to reflect current local material costs, trade availability, or site-specific development requirements. Developing an accurate construction budget requires itemizing actual site costs, including utility trenching, tree removal, driveways, and municipal permit fees.
If you are ready to evaluate your layout ideas against a physical job site, review our full range of services or reach out across our North Texas service areas through our contact page to discuss your project with our local team.
Frequently Asked Questions
Can I design my own house online for free?
Free web-based drafting tools allow you to explore room arrangements, test furniture layouts, and generate three-dimensional visual walkthroughs. However, free software produces conceptual drawings rather than constructible blueprints. Municipal building departments require structural framing plans, engineered foundation designs, and code-compliant mechanical schematics stamped by a state-licensed professional engineer before issuing a building permit.
Is it actually cheaper to build your own house?
Managing your own custom home build as an owner-builder rarely saves money unless you have professional construction management background. Owner-builders lack commercial subcontractor relationships, pay retail pricing for materials, and often face substantial scheduling delays and expensive trade rework when uncoordinated installations fail municipal inspections. Partnering with a licensed general contractor provides volume trade pricing, strict schedule coordination, and formal warranty protection.
Can digital house plans be submitted directly for building permits?
Stock digital house plans cannot be submitted directly for building permits without professional review. City building officials require structural drawings tailored to local building codes, regional wind-load standards, and site-specific soil engineering. A local design-build contractor or licensed engineer must review and stamp the plans to confirm compliance with all regional residential construction codes.
What should I bring to an initial custom home consultation after designing online?
Bring your dimensioned two-dimensional floor plans, exterior 3D renderings, an updated boundary and topographic survey of your property, and a prioritized list of essential features. Providing these organized materials allows your builder to quickly assess site feasibility, identify necessary structural adjustments, and establish a clear construction plan.
Leave a Reply